01
Before You Start
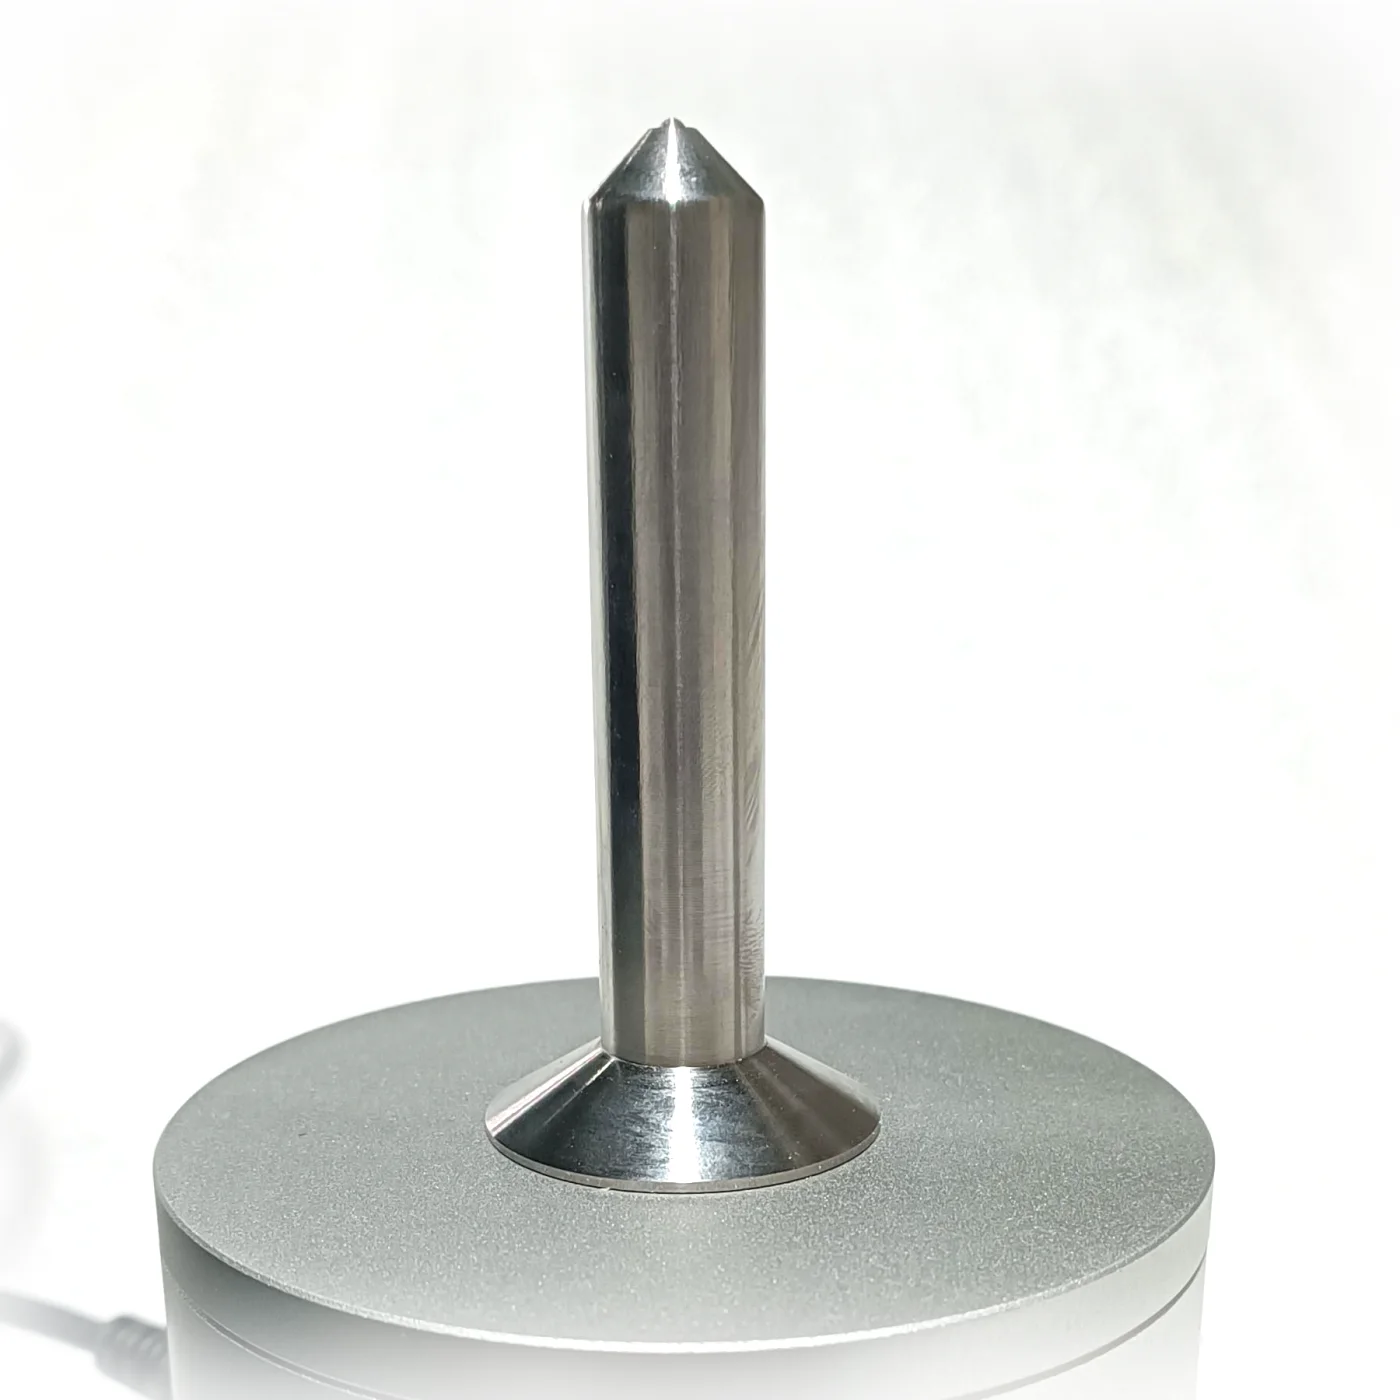
- —Place the gauge on a steady bench, connect the probe and the power adapter, and switch it on with nothing on the probe. Let it warm up for 5 minutes.
- —Choose the target ball. The 3/16" (4.76 mm) ball is the usual choice for bottle bodies and bases; use a smaller ball for tight radii, grooves and threads. The range for each ball is in the table below.
- —Check that the ball diameter shown on the screen is the ball you are going to use. If it is not, run the ball identification first; it is described in the calibration chapter.
| Target ball | Thickness range | Basic calibration | Multi-point calibration |
|---|---|---|---|
| 1/16" (1.59 mm) | 0.100–2.590 mm | ±4% of reading | ±3% of reading |
| 1/8" (3.18 mm) | 0.100–4.570 mm | ±4% of reading | ±2% of reading |
| 3/16" (4.76 mm) | 0.100–6.350 mm | ±3% of reading | ±1% of reading |
| 5.00 mm magnetic balloptional | 4.00–19.00 mm | ±3% of reading | ±1% of reading |
| 7.00 mm magnetic balloptional | 4.00–25.4 mm | ±3% of reading | ±1% of reading |
02
Step 1: Check the Gauge Against a Shim
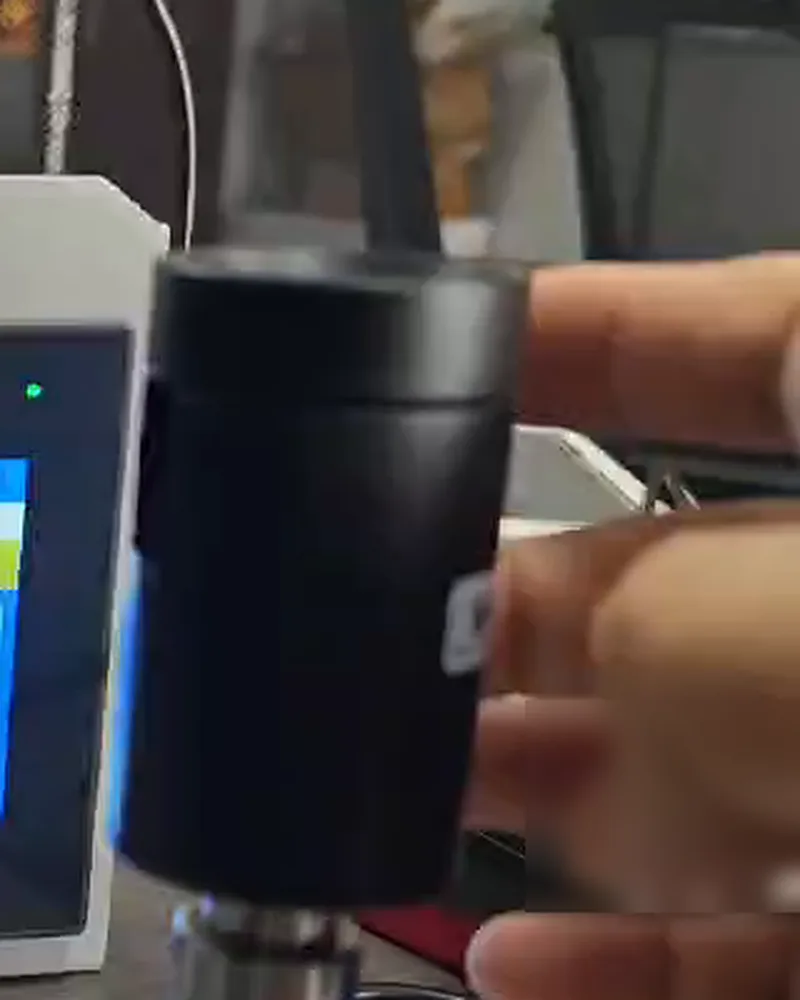
Put a thickness shim in the calibration base, add the ball and fit the base over the probe. The manual recommends the 3 mm shim for the 1/8" and 3/16" balls and the 0.5 mm shim for the 1/16" ball. If the reading agrees with the value marked on the shim within the accuracy figure for that ball, go on and measure. If it does not, run a multi-point calibration.
03
Step 2: Put the Ball Inside the Bottle
Drop one ball into the bottle, jar or tube. The size of the opening does not matter: the largest ball is 7.00 mm. Use only the balls supplied with the gauge, because the gauge is calibrated for them.
04
Step 3: Bring the Wall Down onto the Probe Tip
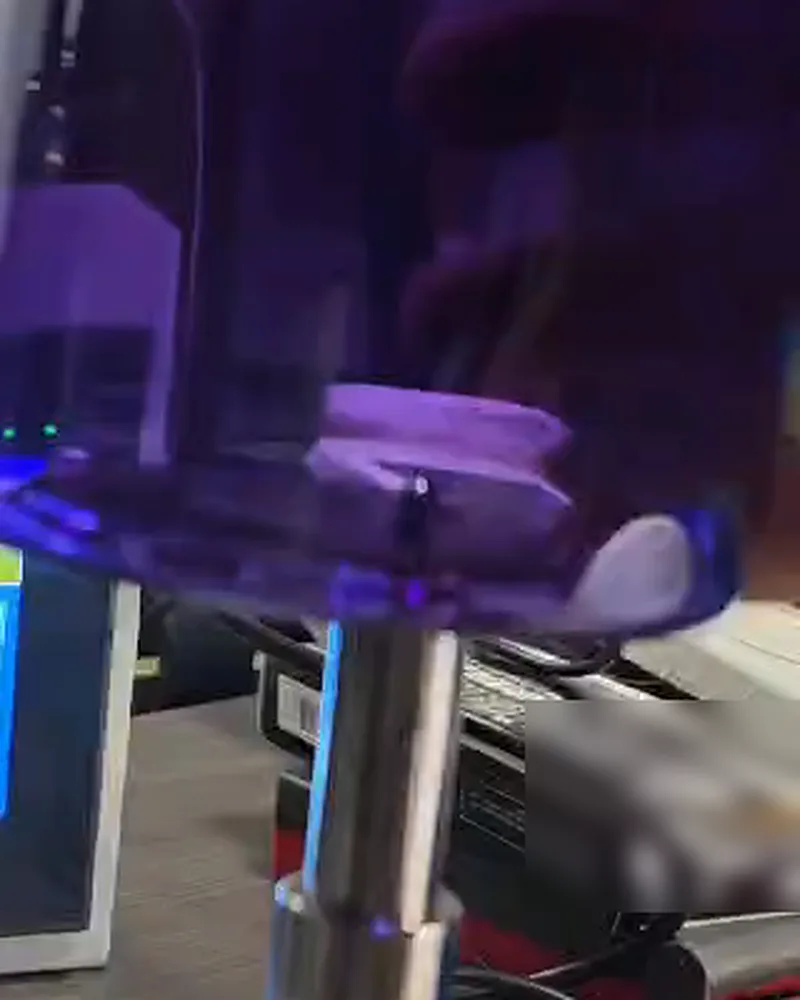
The probe stands upright on its base. Hold the bottle in both hands and lower the outside of the wall onto the probe tip from above, so that the wall sits squarely on the tip. The ball rolls to the tip on the inside and stays there. The thickness appears on the screen at once and follows every movement.
05
Step 4: Move the Bottle to Find the Thinnest Point
Slowly slide or turn the bottle over the tip. The ball follows, and the live reading changes with the wall. To record the extremes, wait until the reading is steady and then switch on the maximum / minimum function: the gauge captures the maximum and minimum of the scan, and their average. Switching it on too early can capture a false maximum while the ball is still settling.
The function switches itself off when the reading goes to zero or over range, for example when you lift the bottle off the probe. The hold function freezes the current reading if you need to write it down.
06
Where to Measure on a Bottle
- —Base and heel, where the material is stretched most and thin corners cause drop-test and top-load failures.
- —Body, at several heights and around the circumference, to see uneven wall distribution.
- —Shoulder and neck transition, where a smaller ball helps on tight radii.
- —Closures, caps and small moulded parts are measured the same way: ball inside, outside on the tip.
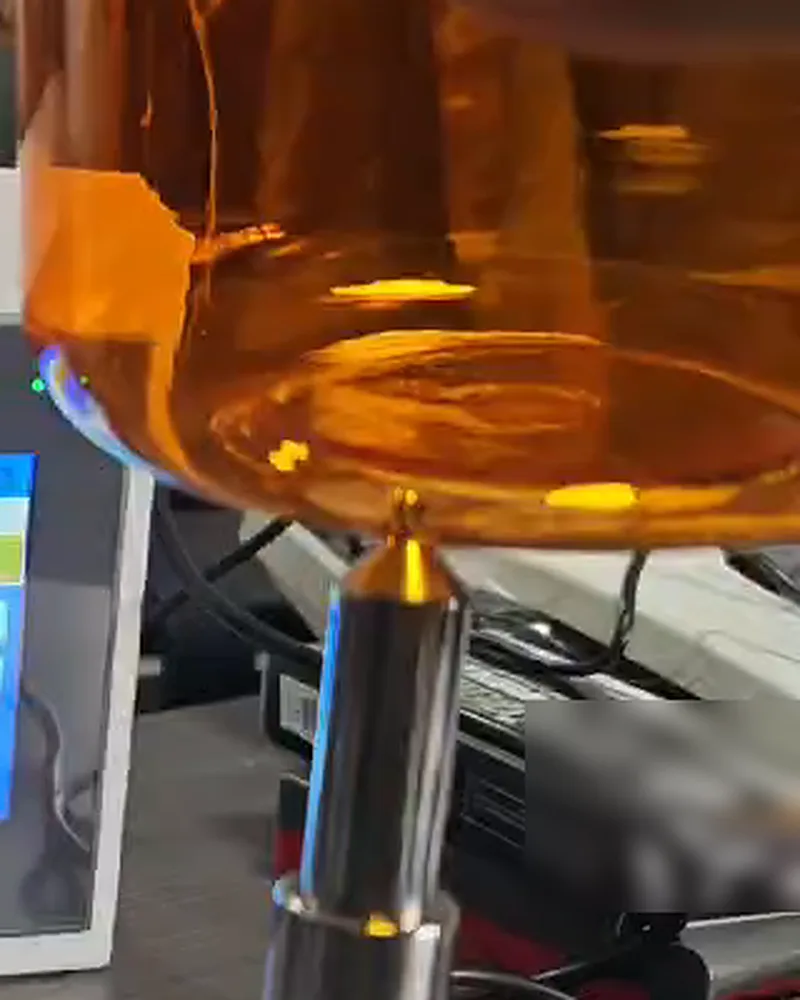
07
Closures and Small Parts
Hold the part over the tip with the ball inside. On small parts the 1/16" (1.59 mm) or 1/8" (3.18 mm) ball reaches into corners and thread roots that a larger ball bridges over.
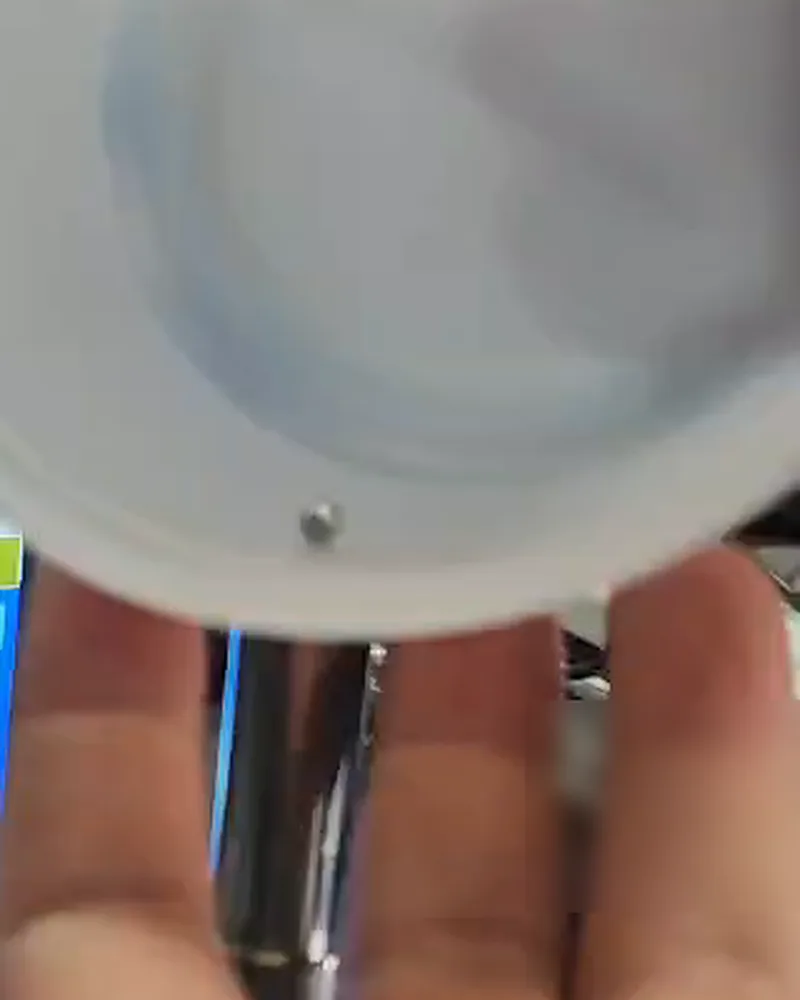
08
Large Containers
Jerrycans, pails and drums are measured on the same probe. What limits the measurement is the wall thickness, not the size of the container: up to 6.350 mm with the standard balls, and up to 25.4 mm with the optional magnetic balls.
09
Step 5: Save, Review and Export
Save a reading with the product name, operator and batch number entered on the main screen. The gauge stores the live value together with the minimum, maximum and average. It holds 100,000 readings, which can be reviewed on the unit and exported to a USB flash drive as an Excel file. With the optional printer, the saved readings of a round are printed with the batch number, up to 8 readings at a time.
10
Common Mistakes
- —A ball or a sample on the probe when the gauge is switched on. The gauge zeroes itself at start-up, so the probe must be empty.
- —The wrong ball selected. The reading is only valid for the ball shown on the screen.
- —Pressing zero with a ball on the probe. Zero is only for an empty probe that does not read zero.
- —Magnets, magnetic holders or steel tools near the probe.
- —A rusty ball. Keep the balls in use apart from the spares and replace any ball that shows rust.
Full specification and datasheet: KHT MTG-100 product page on packagingtestequipment.com