01
Why Glass Wall Thickness Is Measured
Glass fails where it is thin. In forming, the gob does not always spread evenly in the mould, and a bottle that looks perfect can carry a thin patch on one side of the body, in the shoulder or where the wall turns into the base. That patch is where the container breaks under filling pressure, thermal shock or an impact on the line.
Containers for carbonated and other pressurised products are pressure tested — ASTM C147 covers the breaking strength of glass containers under internal pressure for products expected to develop a sustained pressure of 138 kPa (20 psi) or more. [2] A pressure test tells you that a bottle broke; a wall thickness map tells you where it was weak and which mould it came from.
The traditional check is to break or saw the container and measure the pieces with a micrometer. It is slow, it destroys the sample, and it only gives the thickness at the places where the glass happened to break.
02
How a Magnetic Glass Thickness Gauge Works
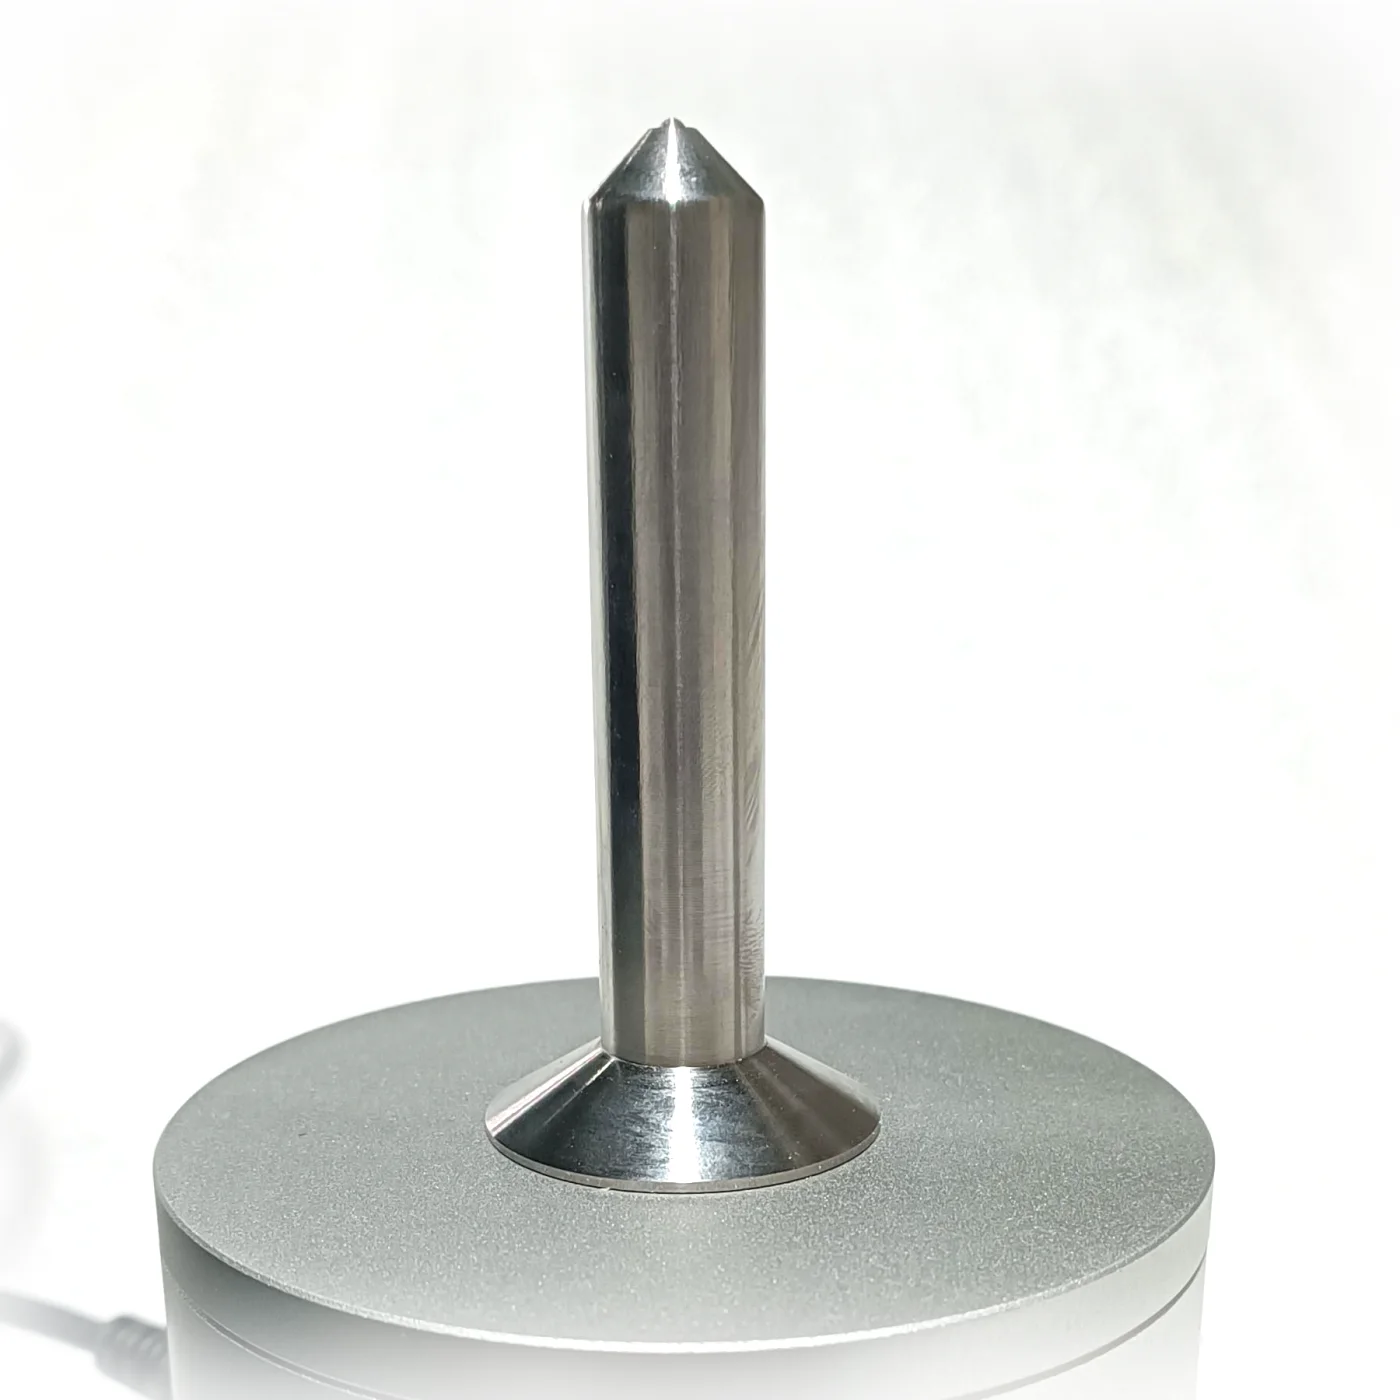
The probe of the KHT MTG-100 stands upright on its base. Put the target ball into the bottle, rest the outside of the glass on the probe tip, and the ball is drawn to the point opposite the tip. The gauge reads the distance between probe and ball, which is the thickness of the glass at that point.
Turn and slide the bottle over the tip to follow a ring around the body or a line from shoulder to heel. The live value is on screen the whole time, with maximum, minimum and average captured automatically, at a resolution of 0.01 or 0.001 mm.
Glass colour does not matter. Flint, amber and green glass are measured the same way, because the gauge reads a magnetic distance and not light.
03
Where to Measure on a Glass Container
- —Shoulder — a common place for thin glass on narrow-neck bottles.
- —Body — around a full ring at one or two heights, to find a thin side.
- —Heel — the turn from body to base, where wall and base thickness meet.
- —Base — including the push-up of wine and sparkling wine bottles.
- —Vials and ampoules — the body wall and the base; the smallest ball passes through the neck of small vials.
04
Which Target Ball for Glass
Most container glass is a few millimetres thick and sits inside the standard range. Use the 3/16" (4.76 mm) ball (0.100–6.350 mm, ±1% of reading after multi-point calibration) wherever it moves freely, and the 1/16" (1.59 mm) ball (0.100–2.590 mm) for small vials and tight heel radii. In general the best results come from the largest ball that still moves freely in the part. [1]
Heavy bases are the exception. For thick-bottomed bottles and jars, the optional 5.00 mm magnetic ball covers 4.00–19.00 mm and the 7.00 mm magnetic ball covers 4.00–25.4 mm.
| Target ball | Thickness range | Basic calibration | Multi-point calibration |
|---|---|---|---|
| 1/16" (1.59 mm) | 0.100–2.590 mm | ±4% of reading | ±3% of reading |
| 1/8" (3.18 mm) | 0.100–4.570 mm | ±4% of reading | ±2% of reading |
| 3/16" (4.76 mm) | 0.100–6.350 mm | ±3% of reading | ±1% of reading |
| 5.00 mm magnetic balloptional | 4.00–19.00 mm | ±3% of reading | ±1% of reading |
| 7.00 mm magnetic balloptional | 4.00–25.4 mm | ±3% of reading | ±1% of reading |
05
What It Cannot Do
- —Sealed ampoules and filled, closed containers cannot be measured: the ball has to be placed inside.
- —The ball must be free to reach the point opposite the probe. Embossing on the inside, or a very sharp internal corner, can hold it away from the wall. [1]
- —Keep the probe away from steel benches and fixtures while measuring. [1]
- —It is a spot and line measurement made by hand, for the laboratory and for checks beside the line — not an in-line inspection machine.
Full specification and datasheet: KHT MTG-100 product page on packagingtestequipment.com