01
Why the Gauge Is Calibrated per Ball
The probe reads how strongly the target ball disturbs its magnetic field. A larger ball gives a stronger signal at the same distance, so the relation between signal and thickness is different for every ball size. The gauge therefore keeps a separate calibration for each ball, and it has to know which ball is on the probe before any reading means anything.
This is also why only the balls supplied with the gauge should be used. A ball of another diameter or another steel does not match the stored calibration, and the reading can be far out.
02
The Calibration Parts in the Kit
The calibration and zeroing fixtures listed in the standard configuration are of two kinds, and they are used together with the shims.
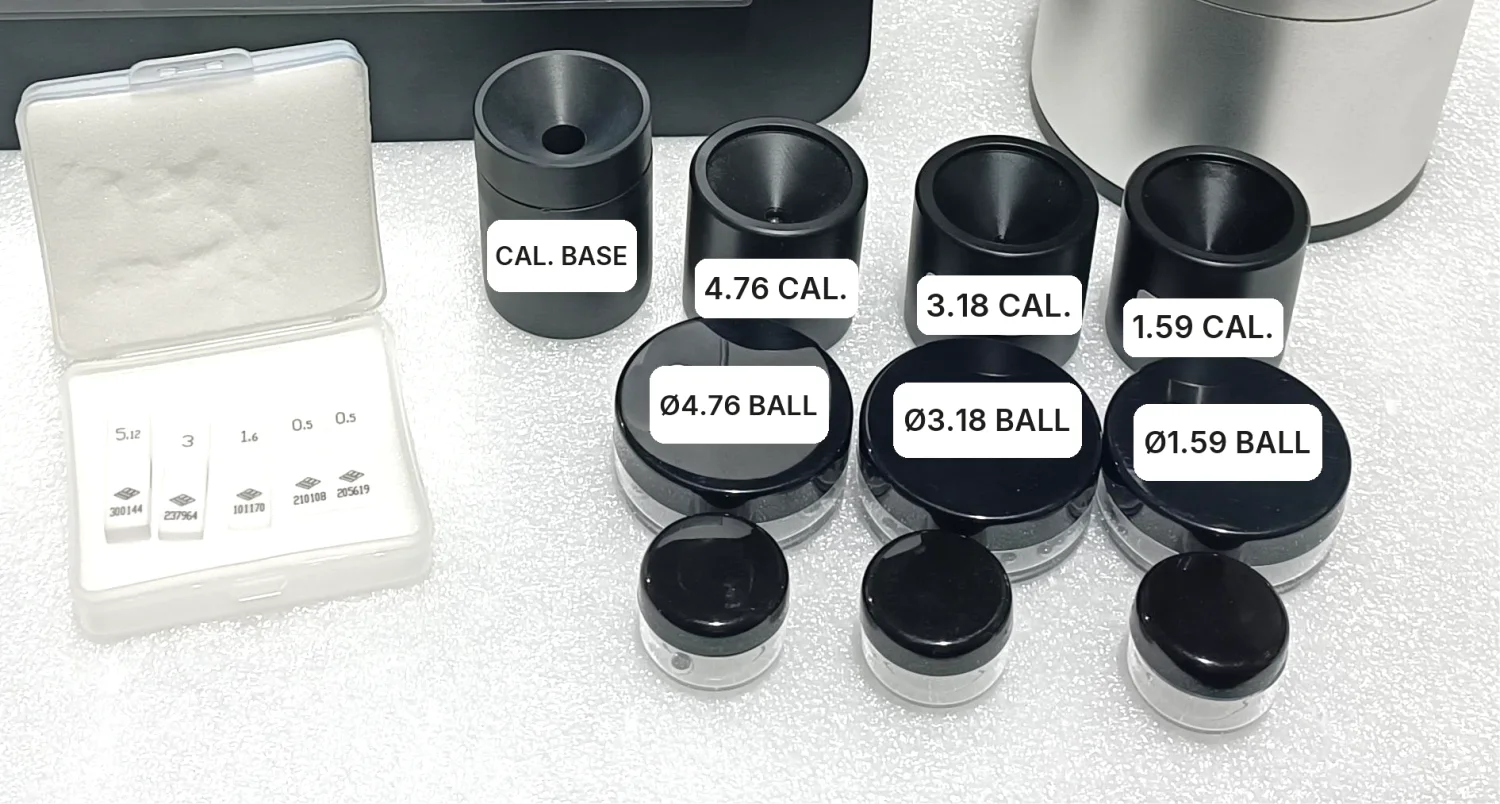
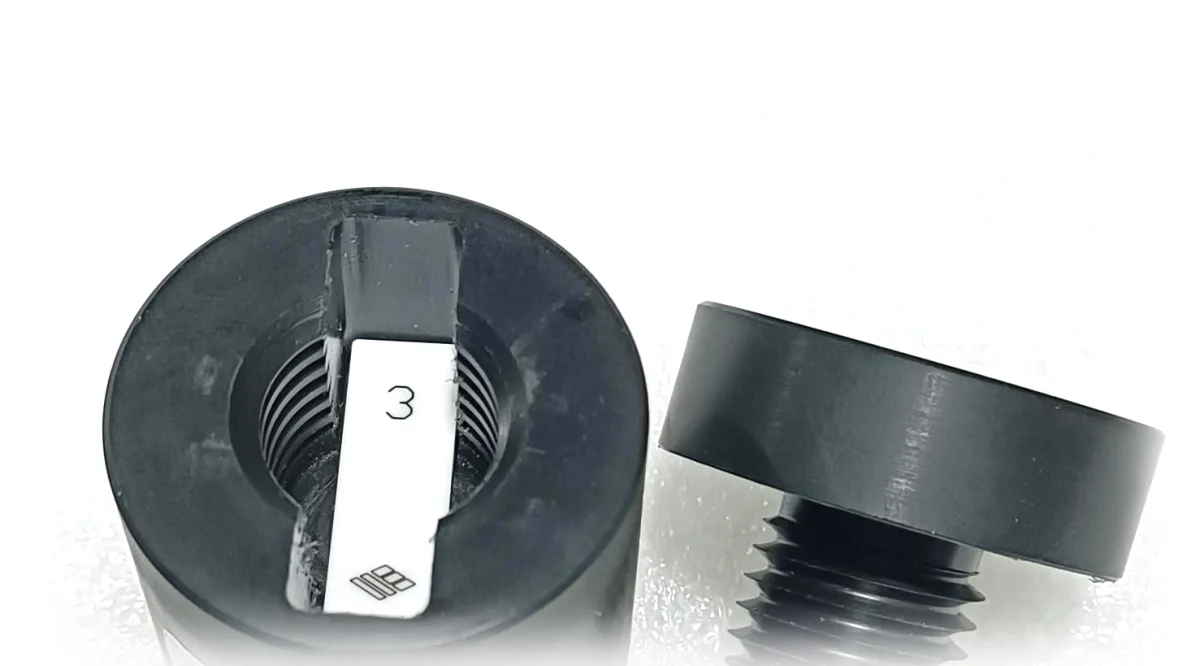
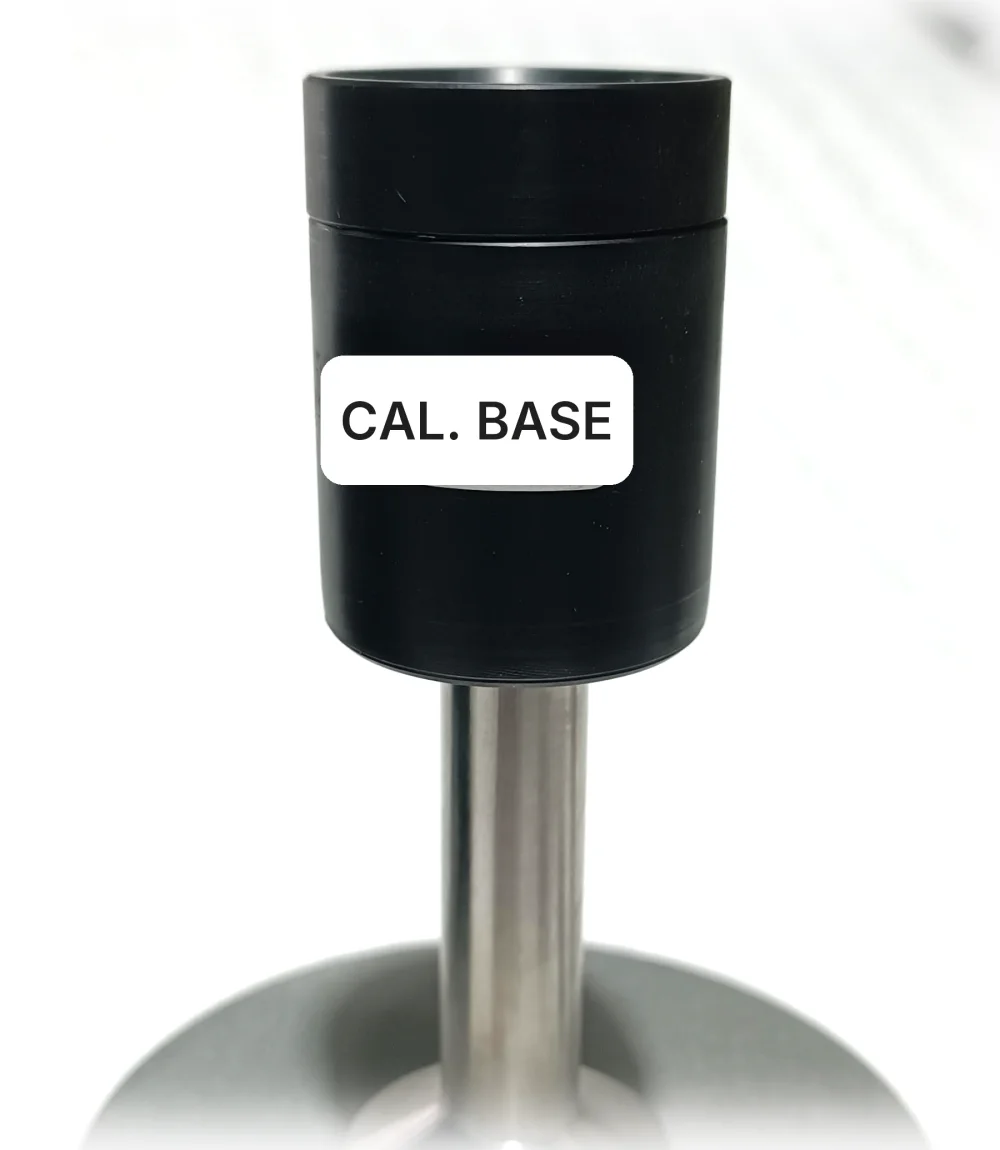
- —A calibration base. It unscrews into two halves; a thickness shim is placed inside and the base is closed lightly. The ball sits on top and the assembly fits over the probe.
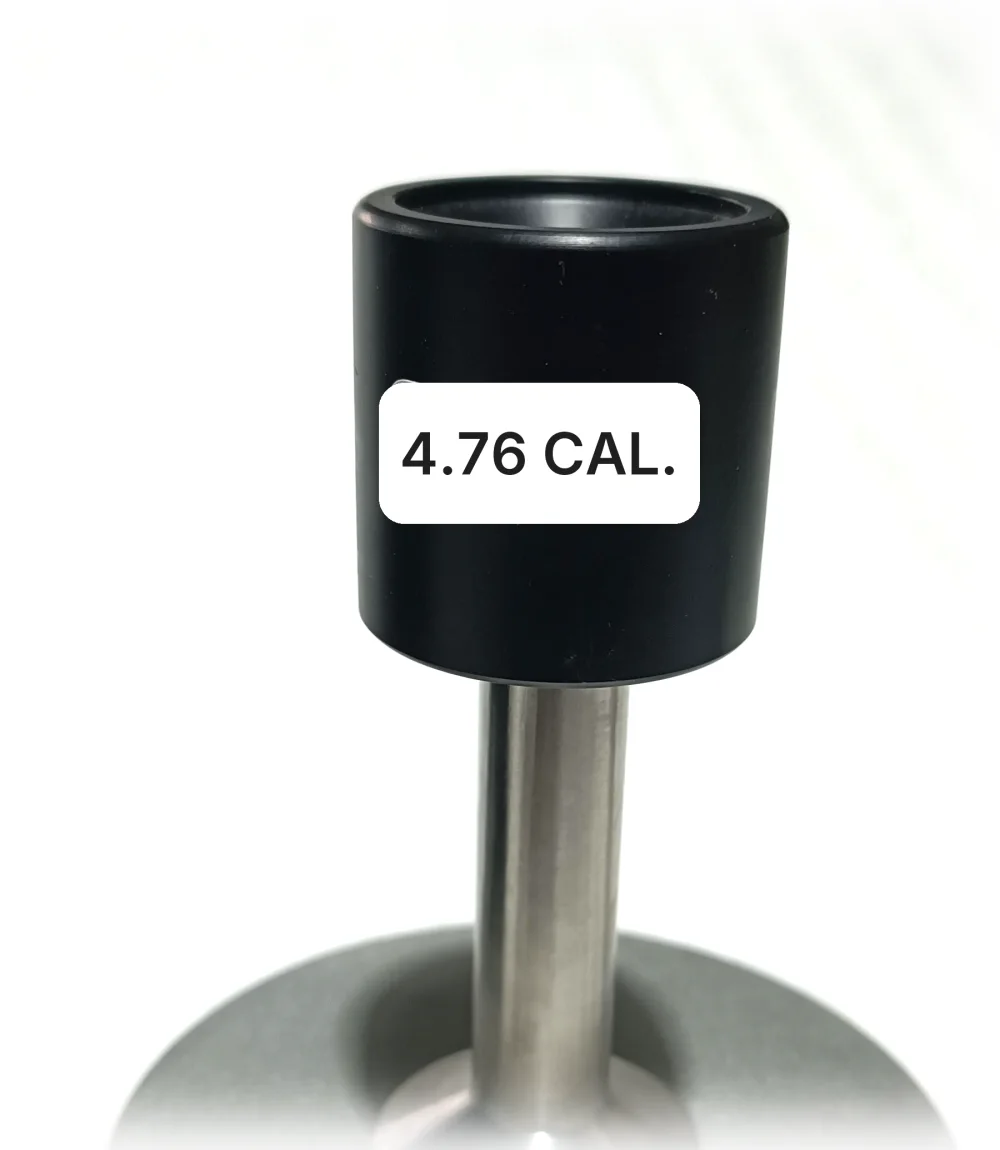
- —A ball fixture for each of the three ball sizes. It holds the ball centred on the probe tip while the gauge identifies it.
- —Calibration thickness shims, each marked with its own value. The set in our photographs is 0.5 mm, 0.5 mm, 1.6 mm, 3 mm and 5.12 mm.
03
Before You Calibrate
- —Let the gauge warm up for 5 minutes after switching on.
- —Keep the probe empty at switch-on. The gauge zeroes itself during start-up, and a ball or a sample on the probe at that moment spoils the start-up zero.
- —If you switch the gauge off, wait 10 minutes before switching it on again.
- —Work on a steady bench, away from vibration, magnets and magnetic tools.
04
Step 1: Ball Identification
The main screen shows the ball diameter the gauge is currently set to. If that is the ball you are about to use, go straight to the daily check. If it is not, change it on the identification and calibration screen:
- —With nothing on the probe, confirm that the ball has been removed.
- —Put the new ball on the probe using the ball fixture for that size.
- —Confirm the identification. The ball diameter shown on the screen changes to the ball you have just fitted.
05
Step 2: The Daily Check (Basic Calibration)
Place a shim in the calibration base, close it lightly, put the ball on top and fit the assembly over the probe. Compare the reading with the value marked on the shim. The manual recommends the 3 mm shim for the 1/8" and 3/16" balls and the 0.5 mm shim for the 1/16" ball.
If the difference is inside the accuracy figure for that ball, the gauge is ready and you can measure. The figures for each ball are in the table below: the basic column applies after this check, the multi-point column after the routine in step 3.
| Target ball | Thickness range | Basic calibration | Multi-point calibration |
|---|---|---|---|
| 1/16" (1.59 mm) | 0.100–2.590 mm | ±4% of reading | ±3% of reading |
| 1/8" (3.18 mm) | 0.100–4.570 mm | ±4% of reading | ±2% of reading |
| 3/16" (4.76 mm) | 0.100–6.350 mm | ±3% of reading | ±1% of reading |
| 5.00 mm magnetic balloptional | 4.00–19.00 mm | ±3% of reading | ±1% of reading |
| 7.00 mm magnetic balloptional | 4.00–25.4 mm | ±3% of reading | ±1% of reading |
06
Step 3: Multi-Point Calibration
Run a multi-point calibration when the daily check is out of tolerance, or when your specification limits are tight and you want the multi-point accuracy figure. It sets the gauge against several known thicknesses across the range, up to 5 points.
- —Identify the ball first, even if the screen already shows the right diameter.
- —With nothing on the probe, confirm the first calibration step.
- —The screen shows the thickness it wants next. Put the shim of that value in the calibration base, add the ball, fit it over the probe and confirm the step.
- —Repeat for each thickness the screen asks for, until it reports that the calibration is complete. Confirm to finish.
- —The calibration applies to that ball only. Repeat the routine for any other ball you use.
07
When to Use the Zero Function
The zero function is not part of calibration, and it is not pressed before or during it. It is for one case only: nothing is on the probe, nothing is being measured, and the live reading is still not zero. Pressing zero then sets the live reading back to zero.
Never press zero with a ball on the probe.
08
If the Calibration Does Not Hold
- —Check that the probe cable is fully connected at the main unit. This is the first thing the manual tells you to check when readings are far out or a calibration will not complete.
- —Check that the ball on the probe is the ball shown on the screen, and that it is one of the balls supplied with the gauge.
- —Look for rust on the ball. Keep the balls in daily use apart from the spare balls so that the spares stay clean.
- —Move magnets, magnetic holders and steel tools away from the probe.
- —Have the gauge verified periodically. The manual suggests a one-year interval.
Full specification and datasheet: KHT MTG-100 product page on packagingtestequipment.com